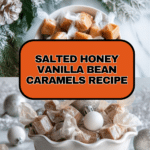
Salted Honey & Vanilla Bean Caramels Recipe
Introduction
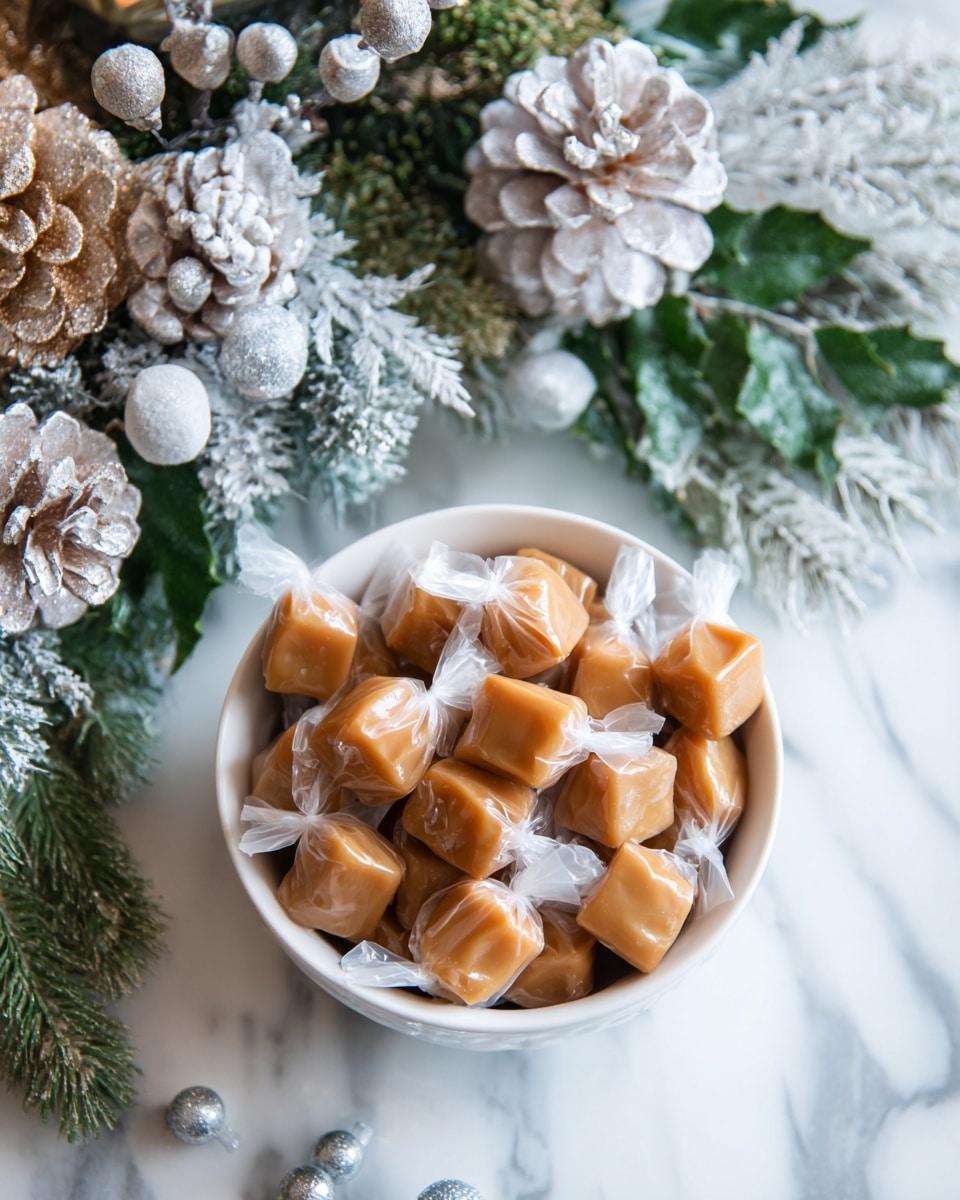
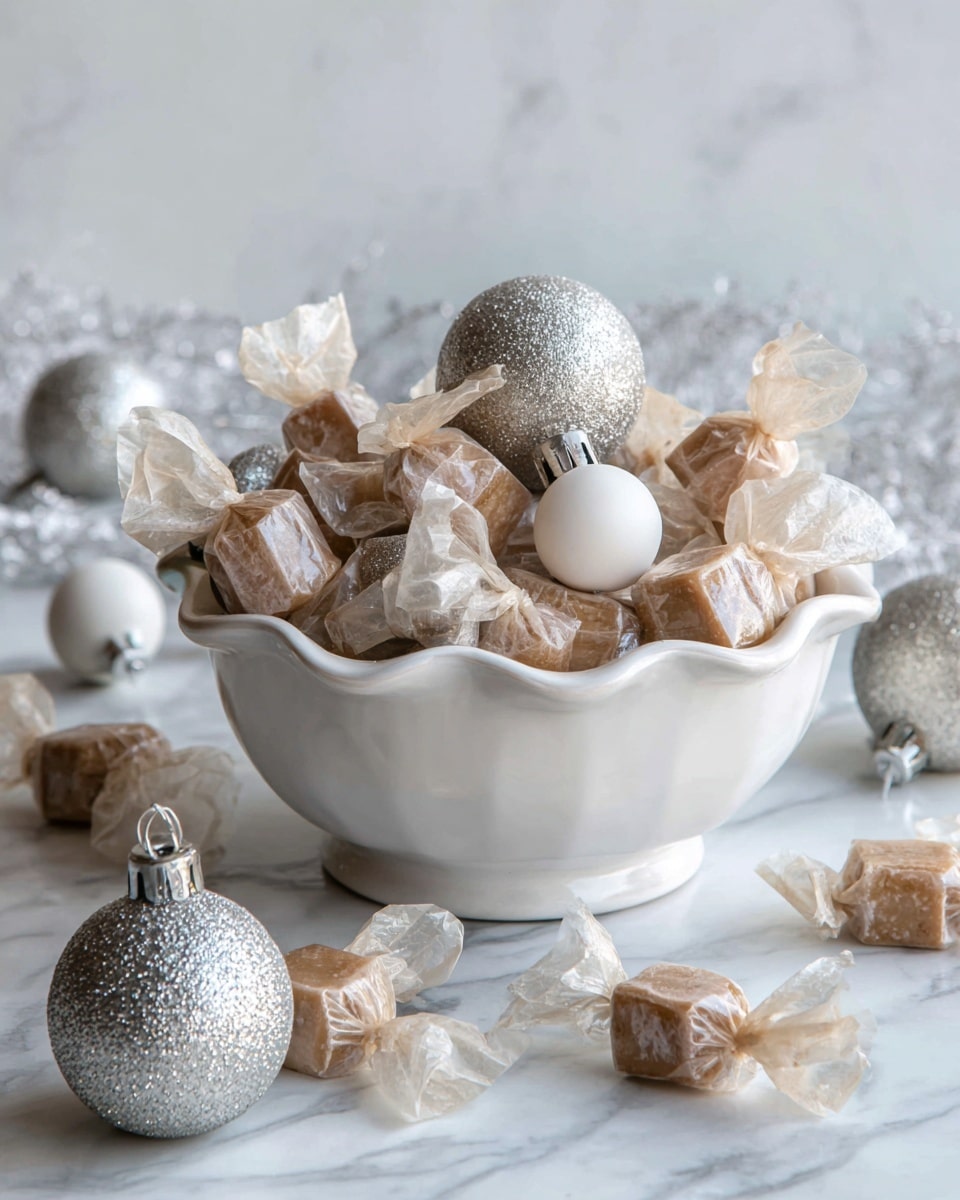
Salted honey and vanilla bean caramels are a rich, buttery treat with a perfect balance of sweet and salty flavors. These soft, melt-in-your-mouth sweets are infused with natural honey and fragrant vanilla, making them an irresistible homemade indulgence.
Ingredients
- 2 cups + 2.5 tablespoons (500 g) heavy cream
- 2 ½ cups (500 g) sugar
- 2.5 tablespoons honey
- ¾ cup + 2 teaspoons (292 g) light corn syrup
- ¼ teaspoon salt
- ½ vanilla bean, scraped, or 2 teaspoons vanilla extract
- 2 tablespoons (30 g) unsalted butter, room temperature
- 2 tablespoons flaky sea salt
Instructions
- Step 1: Prepare an 8×8 baking pan by greasing it with butter and lining with parchment paper to prevent sticking.
- Step 2: In a large heavy-bottomed pot, combine the heavy cream, sugar, honey, light corn syrup, salt, and vanilla bean seeds or extract. Use a pot large enough, such as a 5.5-quart Dutch oven, because the mixture will bubble and rise significantly during cooking.
- Step 3: Place the pot over medium-low heat and stir with a spatula as the ingredients warm and begin to combine.
- Step 4: Use a candy thermometer to monitor the temperature, cooking the mixture until it reaches 248°F (about 20 minutes).
- Step 5: Remove from heat and immediately stir in the unsalted butter to slightly cool the caramel and stop further cooking.
- Step 6: Pour the caramel into the prepared baking pan. After about 10 minutes, sprinkle the top evenly with flaky sea salt. This wait ensures the salt stays on top without sinking in.
- Step 7: Let the caramel set for at least 8 hours, preferably overnight, to firm up completely.
- Step 8: Once set, lift the caramel out of the pan using the parchment paper and place on a cutting board. Cut into desired sizes with a sharp knife.
- Step 9: Wrap each caramel piece in small squares of parchment paper to prevent sticking and maintain freshness. Wearing gloves while handling prevents fingerprints from showing on the soft caramel.
Tips & Variations
- Use a high-quality vanilla bean for the most aromatic flavor, or vanilla extract as a convenient substitute.
- For a milder saltiness, reduce the flaky sea salt topping to 1 tablespoon or sprinkle just half the pan.
- Wear food-safe gloves while cutting and wrapping to keep your fingersprint-free, especially when gifting.
- Ensure your candy thermometer is calibrated for the most accurate temperature reading.
Storage
Store the wrapped caramels in an airtight container at room temperature for up to two weeks. For longer storage, keep them in the refrigerator, but bring to room temperature before eating to enjoy the ideal soft texture. These caramels do not require reheating.
How to Serve
Serve this delicious recipe with your favorite sides.
FAQs
Can I use vanilla extract instead of a vanilla bean?
Yes, vanilla extract is a convenient and tasty alternative to vanilla beans. Use about 2 teaspoons of vanilla extract if you don’t have a vanilla bean on hand.
Why is a candy thermometer necessary for this recipe?
A candy thermometer ensures the caramel reaches the precise temperature of 248°F, which is critical for achieving the perfect chewy texture. Without it, the caramel may turn out too soft or too hard.
PrintSalted Honey & Vanilla Bean Caramels Recipe

Indulge in the rich, buttery sweetness of Salted Honey & Vanilla Bean Caramels, handcrafted with creamy heavy cream, natural honey, aromatic vanilla bean, and the perfect touch of flaky sea salt for a gourmet treat. These decadent caramels offer a smooth texture with a hint of saltiness, making them ideal for gifting or savoring anytime.
- Prep Time: 15 minutes
- Cook Time: 20 minutes
- Total Time: 8 hours 35 minutes
- Yield: Approximately 64 small caramel pieces (1 inch squares) 1x
- Category: Candy
- Method: Stovetop
- Cuisine: American
Ingredients
Caramel Base
- 2 Cups + 2.5 Tablespoons (500 g) Heavy Cream
- 2 ½ Cups (500 g) Sugar
- 2.5 Tablespoons Honey
- ¾ Cup + 2 Teaspoons (292 g) Light Corn Syrup
- ¼ Teaspoon Salt
- ½ Vanilla Bean, Scraped, or 2 Teaspoons Vanilla Extract
Finishing Ingredients
- 2 Tablespoons (30 g) Unsalted Butter, Room Temperature
- 2 Tablespoons Flaky Sea Salt
Instructions
- Prepare the Pan: Grease an 8×8 inch baking pan with butter and line it with parchment paper to prevent the caramel from sticking.
- Combine Ingredients: In a large heavy-bottomed pot or a 5.5-quart Dutch oven, add the heavy cream, sugar, honey, light corn syrup, salt, and scraped vanilla bean or vanilla extract. Stir gently to combine as you begin to warm the mixture over medium-low heat on the stove.
- Cook the Caramel: Monitor the mixture using a candy thermometer, stirring occasionally. Allow the caramel to cook and bubble, watching carefully as it will rise significantly. Continue cooking until the temperature reaches 248°F (120°C), which should take about 20 minutes. This precise temperature ensures the perfect chewy texture.
- Incorporate Butter: Once the caramel has reached 248°F, immediately remove the pot from heat and stir in the room temperature unsalted butter fully. This cools the caramel slightly and prevents overcooking while enriching the flavor.
- Pour & Set: Pour the hot caramel mixture into the prepared pan, spreading evenly. Let it sit at room temperature for 10 minutes before sprinkling the flaky sea salt on top. This brief setting period prevents the salt from sinking into the caramel.
- Cool Completely: Allow the caramel to set undisturbed for at least 8 hours, preferably overnight, until fully firm.
- Cut & Wrap: Once set, remove the caramel from the pan and place it on a cutting board. Using a sharp knife, cut into your desired sizes. For a professional look and to avoid fingerprints, wrap each caramel piece in small squares of parchment paper, ideally using gloves while handling.
Notes
- Use a large heavy-bottomed pot to prevent the mixture from boiling over as it bubbles and rises.
- Use a candy thermometer for precise temperature control to ensure the right texture.
- Allow the caramel to cool slightly before adding sea salt to keep it on top and enhance the flavor contrast.
- Wrapping the caramels in parchment helps keep them fresh and prevents sticking.
- Wearing gloves while handling the finished caramels avoids fingerprints on the smooth surface, ideal when gifting.
Keywords: salted caramel, honey caramel, vanilla bean caramel, homemade caramels, candy recipe, buttery caramel, gift candies