Red Velvet Cookie Bars Recipe
Introduction
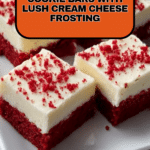
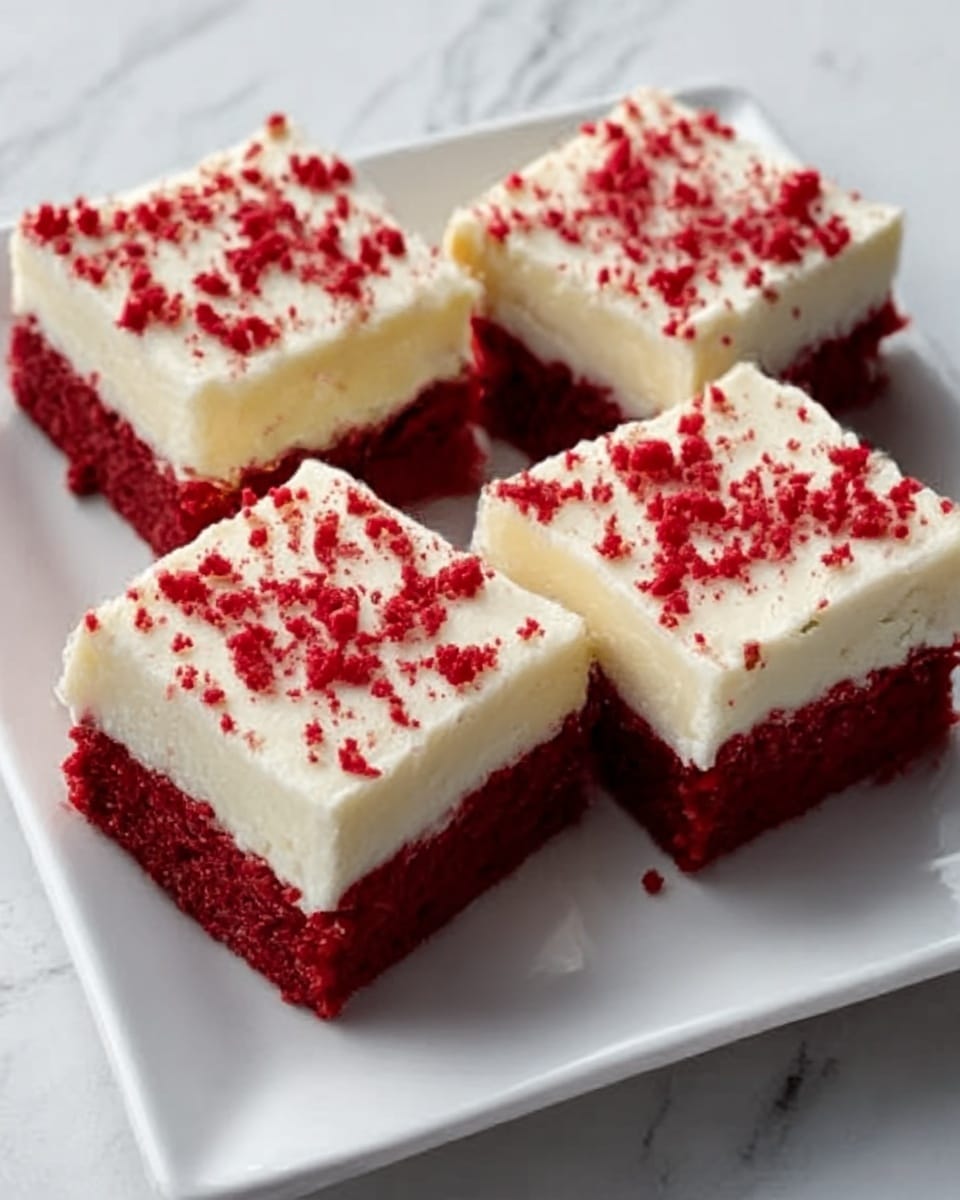
Red Velvet Cookie Bars combine the rich, velvety flavor of classic red velvet cake with the chewy texture of a cookie. Topped with a creamy cream cheese frosting, these bars are perfect for sharing or enjoying as a sweet treat anytime.
Ingredients
- 1 cup unsalted butter
- 1 cup granulated sugar
- 0.5 cup brown sugar
- 2 large eggs
- 2 teaspoons vanilla extract
- 2 tablespoons red gel food coloring
- 2 tablespoons unsweetened cocoa powder
- 2.5 cups all-purpose flour
- 1 teaspoon baking powder
- 0.5 teaspoon salt
- 8 oz cream cheese
- 0.5 cup unsalted butter (for frosting)
- 2 cups powdered sugar
- 2 tablespoons milk
Instructions
- Step 1: Preheat your oven to 350°F (175°C) and line a 9×13-inch baking dish with parchment paper.
- Step 2: In a large bowl, cream together 1 cup unsalted butter, 1 cup granulated sugar, and 0.5 cup brown sugar until light and fluffy.
- Step 3: Beat in 2 large eggs, 2 teaspoons vanilla extract, and 2 tablespoons red gel food coloring until well combined.
- Step 4: In a separate bowl, whisk together 2 tablespoons unsweetened cocoa powder, 2.5 cups all-purpose flour, 1 teaspoon baking powder, and 0.5 teaspoon salt.
- Step 5: Gradually mix the dry ingredients into the wet mixture until a thick dough forms.
- Step 6: Spread the dough evenly into the prepared baking pan and bake for 22–25 minutes or until set.
- Step 7: Let the bars cool completely in the pan.
- Step 8: To make the frosting, beat 8 oz cream cheese and 0.5 cup unsalted butter until creamy.
- Step 9: Add 2 cups powdered sugar and 2 tablespoons milk, beating until fluffy.
- Step 10: Frost the cooled bars and top with red velvet crumbs if desired. Slice and serve.
Tips & Variations
- Use red gel food coloring for a vibrant color without adding extra liquid to the dough.
- For a more intense cocoa flavor, increase the cocoa powder by 1 teaspoon.
- Try adding white chocolate chips to the dough for a sweet surprise in every bite.
- Top the frosting with crushed nuts or sprinkles for added texture and decoration.
Storage
Store the frosted cookie bars in an airtight container in the refrigerator for up to 5 days. Let them come to room temperature before serving for the best texture and flavor. You can also freeze the bars unfrosted for up to 3 months; thaw completely before frosting and serving.
How to Serve
Serve this delicious recipe with your favorite sides.
FAQs
Can I use liquid food coloring instead of gel?
While you can use liquid food coloring, gel food coloring is recommended because it provides more vibrant color without affecting the dough’s texture or consistency.
How do I know when the bars are done baking?
The bars are set when the edges pull away slightly from the pan and a toothpick inserted into the center comes out with a few moist crumbs but no raw dough.
PrintRed Velvet Cookie Bars Recipe

Delight in these luscious Red Velvet Cookie Bars, combining the classic flavors of red velvet cake and rich cream cheese frosting into a chewy, bar-style treat. Perfectly moist and vibrant, these bars are ideal for parties, holidays, or anytime you crave a sweet, colorful dessert.
- Prep Time: 15 minutes
- Cook Time: 22-25 minutes
- Total Time: 40 minutes
- Yield: 12–16 bars 1x
- Category: Dessert
- Method: Baking
- Cuisine: American
Ingredients
Cookie Bars
- 1 cup unsalted butter
- 1 cup granulated sugar
- 0.5 cup brown sugar
- 2 large eggs
- 2 teaspoons vanilla extract
- 2 tablespoons red gel food coloring
- 2 tablespoons unsweetened cocoa powder
- 2.5 cups all-purpose flour
- 1 teaspoon baking powder
- 0.5 teaspoon salt
Frosting
- 8 oz cream cheese
- 0.5 cup unsalted butter
- 2 cups powdered sugar
- 2 tablespoons milk
Instructions
- Preheat and Prepare Pan: Preheat your oven to 350°F (175°C) and line a 9×13-inch baking dish with parchment paper for easy removal and cleanup.
- Cream Butter and Sugars: In a large bowl, cream together 1 cup unsalted butter, 1 cup granulated sugar, and 0.5 cup brown sugar until the mixture is light and fluffy, creating a smooth base for the bars.
- Add Eggs, Vanilla, and Coloring: Beat in 2 large eggs, 2 teaspoons vanilla extract, and 2 tablespoons red gel food coloring until the mixture is well combined and vibrant in color.
- Mix Dry Ingredients: In a separate bowl, whisk together 2 tablespoons unsweetened cocoa powder, 2.5 cups all-purpose flour, 1 teaspoon baking powder, and 0.5 teaspoon salt to blend the dry elements evenly.
- Combine Dry with Wet: Gradually incorporate the dry ingredients into the wet mixture, mixing until a thick, uniform dough forms, ready to be spread.
- Bake: Spread the dough evenly into the prepared baking pan. Bake in the preheated oven for 22–25 minutes or until the bars are set and a toothpick inserted in the center comes out clean.
- Cool: Remove the pan from the oven and allow the bars to cool completely within the pan to firm up before frosting.
- Make Frosting: In a mixing bowl, beat together 8 oz cream cheese and 0.5 cup unsalted butter until creamy and smooth.
- Add Powdered Sugar and Milk: Add 2 cups powdered sugar and 2 tablespoons milk to the cream cheese mixture and beat until the frosting becomes fluffy and spreadable.
- Frost and Serve: Spread the cream cheese frosting evenly over the cooled bars. Optionally, sprinkle red velvet crumbs on top for decoration. Slice into bars and serve.
Notes
- Ensure bars are completely cool before frosting to prevent melting.
- Use gel food coloring for vibrant color without affecting dough consistency.
- You can prepare the dough a day ahead and refrigerate before baking.
- For gluten-free variation, substitute all-purpose flour with a gluten-free flour blend.
- Store bars in an airtight container in the refrigerator for up to 5 days.
Keywords: Red Velvet Cookie Bars, Red Velvet, Cream Cheese Frosting, Dessert Bars, Velvet Bars, Homemade Red Velvet