Chocolate Kiss Cookies Recipe
Introduction
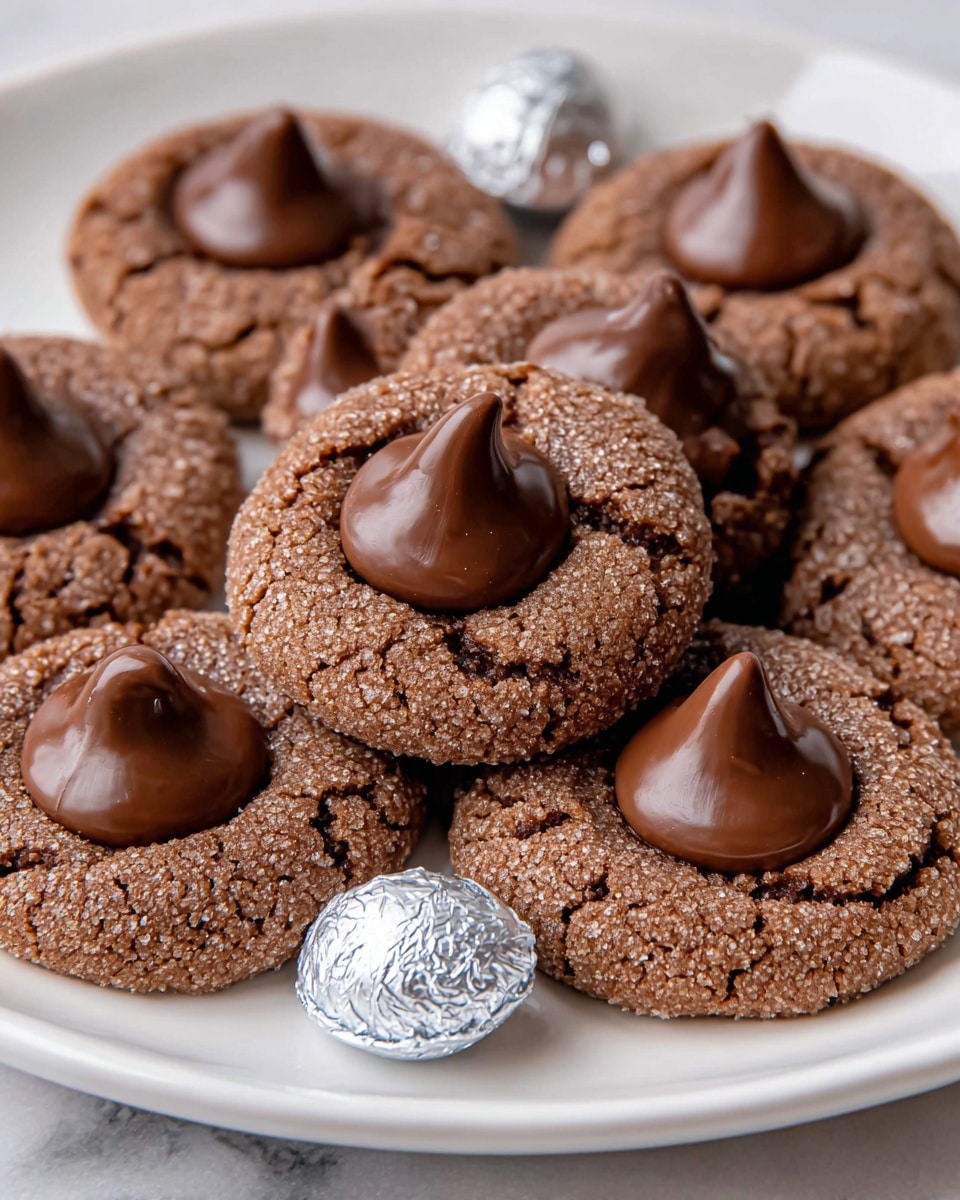
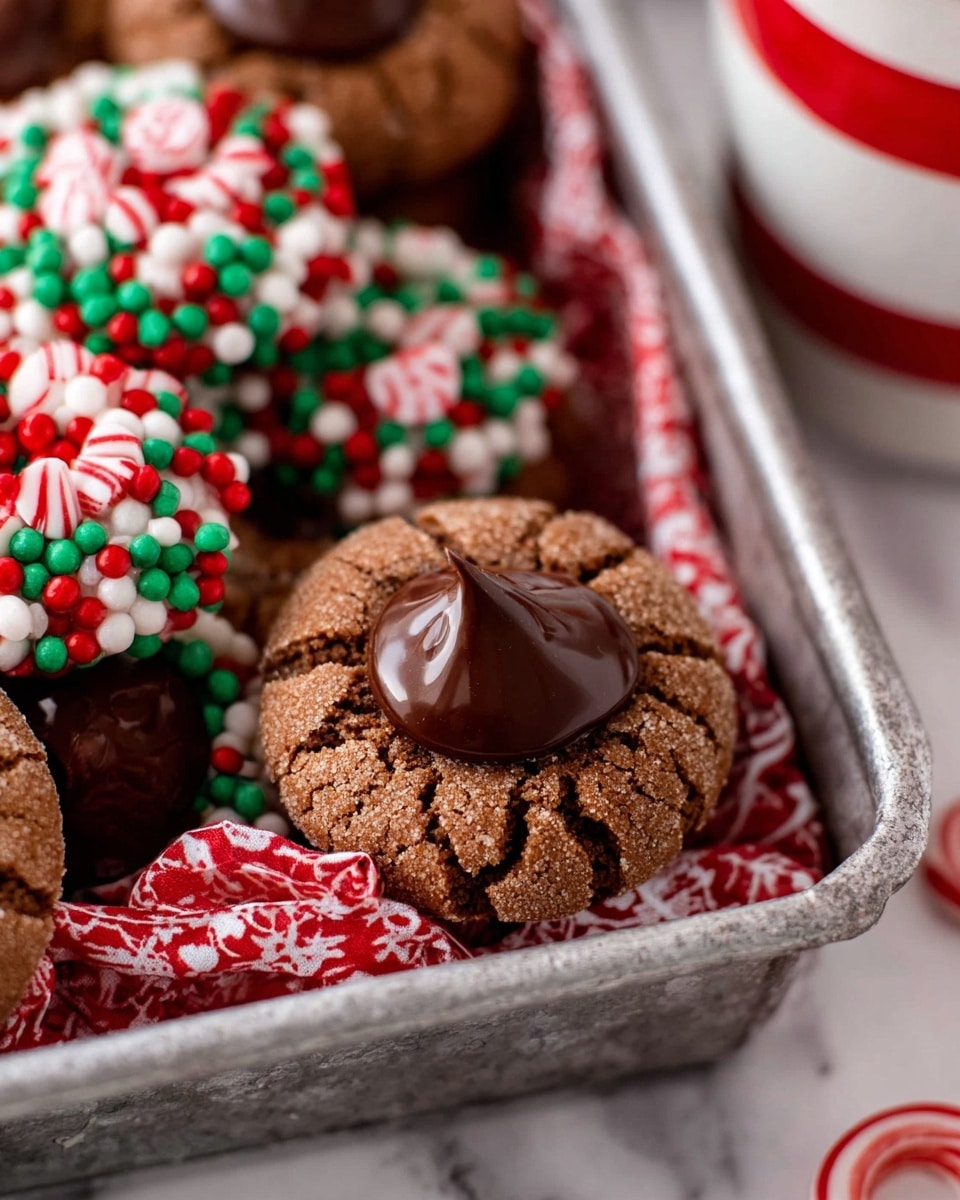
Chocolate Kiss Cookies are a delightful holiday treat combining rich chocolate dough with a sweet, melty Hershey’s Kiss at the center. These soft cookies offer a perfect balance of cocoa flavor and sugary crunch, making them a favorite for festive gatherings or cozy nights in.
Ingredients
- 1 cup unsalted butter (2 sticks, softened)
- 1 cup granulated sugar (plus extra for rolling)
- ½ cup brown sugar (packed)
- 1 large egg
- 1 egg yolk
- 2 teaspoons vanilla extract
- 2 cups all-purpose flour
- ½ cup unsweetened cocoa powder
- 1 teaspoon baking soda
- ½ teaspoon salt
- 30 Hershey’s Kisses (unwrapped)
- Holiday sprinkles (optional)
Instructions
- Step 1: Preheat your oven to 350°F (175°C) and line baking sheets with parchment paper.
- Step 2: In a large bowl, beat the softened butter, granulated sugar, and brown sugar together until the mixture is light and creamy. Add the egg, egg yolk, and vanilla extract, and mix until fully blended.
- Step 3: In a separate bowl, whisk the flour, cocoa powder, baking soda, and salt until combined. Gradually add the dry ingredients to the wet ingredients, mixing until a soft dough forms.
- Step 4: Cover the bowl with plastic wrap and chill the dough in the refrigerator for 15-20 minutes to make it easier to work with.
- Step 5: Once the dough is chilled, scoop out about 1 tablespoon of dough and roll it into a ball. Repeat with the remaining dough.
- Step 6: Roll each dough ball in granulated sugar. If you want to use sprinkles, roll some of the dough balls in sprinkles instead of sugar.
- Step 7: Arrange the dough balls on the prepared baking sheets, leaving about 2 inches of space between them.
- Step 8: Bake for 8-10 minutes, or until the edges are firm but the centers are still soft.
- Step 9: Take the cookies out of the oven and immediately press a Hershey’s Kiss into the center of each one. The cookies may crack slightly around the edges, which is normal.
- Step 10: Let the cookies cool on the baking sheet for 5 minutes, then transfer them to a wire rack to cool completely. Enjoy!
Tips & Variations
- Make sure the butter is softened but not melted for the best texture.
- Chilling the dough helps prevent spreading and keeps cookies soft inside.
- Try rolling some dough balls in holiday sprinkles to add a festive touch.
- For a richer chocolate flavor, substitute half the cocoa powder with melted bittersweet chocolate.
- You can use different flavored Kisses, like caramel or mint, for a fun variation.
Storage
Store the cookies in an airtight container at room temperature for up to 5 days. To keep them soft, place a slice of bread in the container. They can also be frozen for up to 3 months; thaw at room temperature before serving. Reheat gently in the microwave for a few seconds if you want them warm and melty.
How to Serve
Serve this delicious recipe with your favorite sides.
FAQs
Can I use salted butter instead of unsalted?
Yes, but reduce or omit additional salt in the recipe to avoid a salty taste.
What if my cookies spread too much while baking?
Make sure your dough is properly chilled before baking and use parchment paper or silicone mats. Also, avoid over-softening your butter and scoop dough balls evenly to help maintain shape.
PrintChocolate Kiss Cookies Recipe

Delight in these rich and chewy Chocolate Kiss Cookies, featuring a perfect combination of cocoa-infused dough rolled in sugar and topped with a classic Hershey’s Kiss. Ideal for holiday celebrations or any time you crave a melt-in-your-mouth chocolate treat with a nostalgic twist.
- Prep Time: 15 minutes
- Cook Time: 10 minutes
- Total Time: 30 minutes
- Yield: 30 cookies 1x
- Category: Dessert
- Method: Baking
- Cuisine: American
Ingredients
Cookie Dough
- 1 cup unsalted butter (2 sticks, softened)
- 1 cup granulated sugar (plus extra for rolling)
- ½ cup brown sugar (packed)
- 1 large egg
- 1 egg yolk
- 2 teaspoons vanilla extract
- 2 cups all-purpose flour
- ½ cup unsweetened cocoa powder
- 1 teaspoon baking soda
- ½ teaspoon salt
Toppings
- 30 Hershey’s Kisses (unwrapped)
- Holiday sprinkles (optional)
Instructions
- Preheat and Prepare: Preheat your oven to 350°F (175°C) and line baking sheets with parchment paper to prevent sticking and ensure even baking.
- Mix Wet Ingredients: In a large bowl, beat the softened butter, granulated sugar, and brown sugar together until light and creamy. Add the egg, egg yolk, and vanilla extract, blending until smooth and fully incorporated.
- Combine Dry Ingredients: In a separate bowl, whisk together the all-purpose flour, unsweetened cocoa powder, baking soda, and salt until well combined.
- Form the Dough: Gradually add the dry ingredients to the wet mixture, stirring until a soft, cohesive dough forms. Avoid overmixing to keep cookies tender.
- Chill the Dough: Cover the dough bowl with plastic wrap and refrigerate for 15-20 minutes to firm up the dough, making it easier to shape.
- Shape Cookies: Scoop about 1 tablespoon of chilled dough and roll it into a ball. Repeat for the remaining dough portions.
- Coat Dough Balls: Roll each dough ball in granulated sugar. For variety, some dough balls can be rolled in holiday sprinkles instead of sugar to add festive color.
- Arrange on Baking Sheets: Place the coated dough balls on the prepared sheets, spaced about 2 inches apart to allow for spreading.
- Bake: Bake in the preheated oven for 8-10 minutes, until the edges are set and firm but centers remain soft, creating a chewy texture.
- Add Hershey’s Kisses: Remove cookies from oven and immediately press an unwrapped Hershey’s Kiss into the center of each cookie. It’s normal if the cookies crack slightly around the edges.
- Cool: Let the cookies cool on the baking sheet for 5 minutes to set, then transfer to a wire rack to cool completely before serving.
Notes
- Chilling the dough helps prevent excessive spreading and makes it easier to handle.
- If cookies crack more than desired, slightly reduce baking time by 1-2 minutes.
- Use parchment paper or silicone mats on baking sheets for easy cleanup and to prevent sticking.
- For extra flavor, consider adding a pinch of espresso powder to enhance the chocolate taste.
- Store cooled cookies in an airtight container at room temperature for up to 5 days.
Keywords: Chocolate Cookies, Hershey’s Kiss Cookies, Holiday Cookies, Cocoa Cookies, Festive Treats, Chocolate Kiss Dessert