Biscoff Brownies Recipe
Introduction
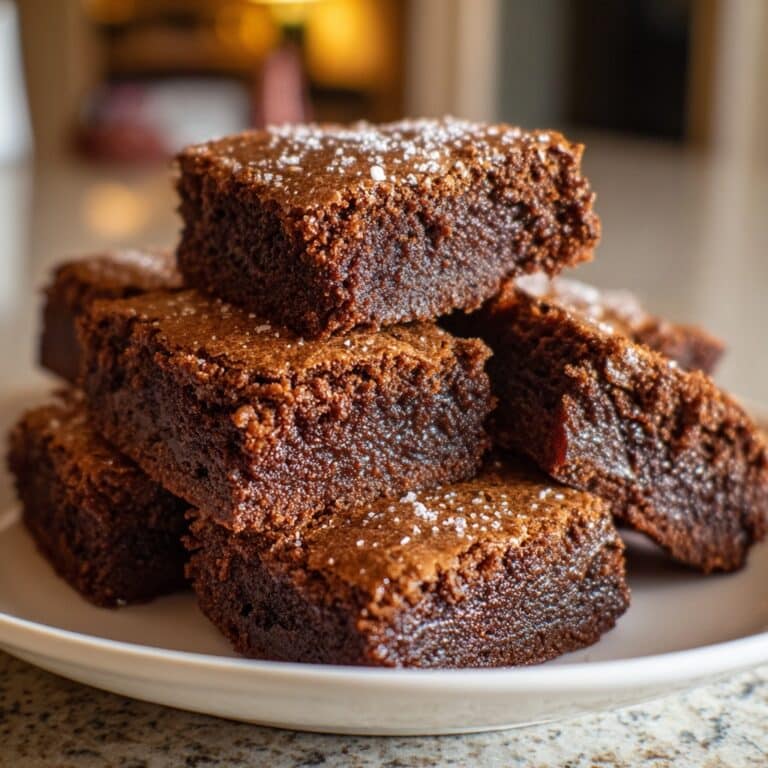
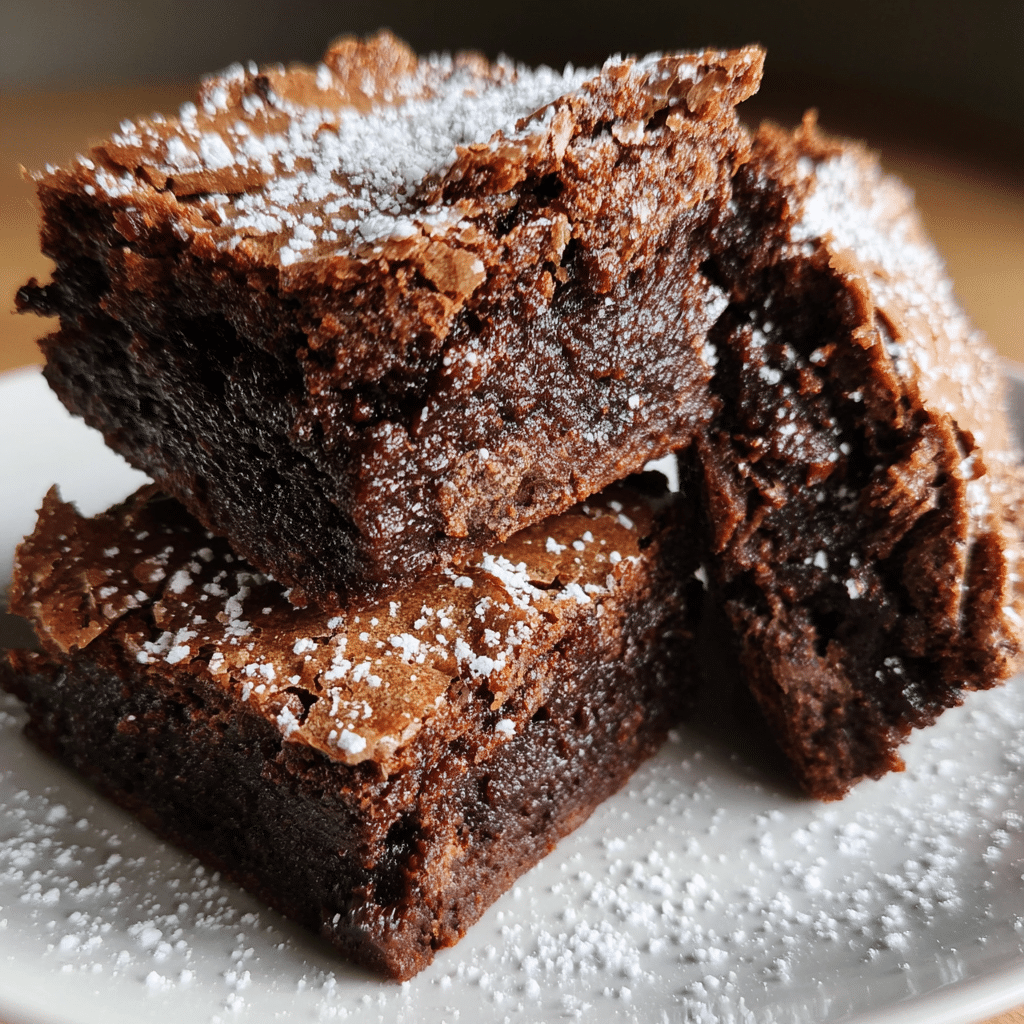
These Biscoff Brownies combine rich dark chocolate with the unique caramel flavor of Biscoff biscuits and spread. They are fudgy, decadent, and perfect for any chocolate lover looking for a twist on a classic treat.
Ingredients
- 200 g dark chocolate
- 200 g unsalted butter
- 4 medium eggs (or 3 large)
- 275 g sugar (caster or light brown)
- 90 g plain flour
- 35 g cocoa powder
- 200 g chocolate chips
- 150 g Biscoff biscuits (chopped)
- 200 g Biscoff spread
Instructions
- Step 1: Preheat your oven to 180ºC (160ºC fan) and line a 9×9″ square tin with parchment paper.
- Step 2: Melt the dark chocolate together with the butter, then set aside to cool slightly while you prepare the rest of the batter.
- Step 3: Whisk the eggs and sugar together until the mixture is thick and mousse-like—it should double in volume, become paler, and leave a trail for a few seconds when you lift the whisk.
- Step 4: Gently fold the cooled chocolate and butter mixture into the egg and sugar mixture, taking care not to deflate the air you’ve incorporated.
- Step 5: Add the plain flour and cocoa powder to the batter and fold them in carefully.
- Step 6: Fold through the chocolate chips and chopped Biscoff biscuits, then pour the batter into the prepared tin.
- Step 7: Use two teaspoons to spoon about 15 dollops of Biscoff spread evenly over the top of the batter.
- Step 8: Bake in the oven for 25 to 30 minutes, or until there is a slight wobble in the center when you gently shake the tray.
- Step 9: Allow the brownies to cool completely in the tin, then chill them in the fridge for a couple of hours to firm up before slicing and serving.
Tips & Variations
- For extra fudgy brownies, avoid overbaking and watch the wobble in the center carefully.
- Swap chocolate chips for white chocolate or caramel bits for a different flavor twist.
- Use crushed Biscoff cookies on top before baking for added crunch.
- If you prefer a stronger Biscoff flavor, swirl some Biscoff spread throughout the batter before baking.
Storage
Store brownies in an airtight container in the refrigerator for up to 5 days. Let them come to room temperature or warm gently before serving for the best texture. You can also freeze brownies for up to 3 months; thaw in the fridge overnight before enjoying.
How to Serve
Serve this delicious recipe with your favorite sides.
FAQs
Can I use regular butter instead of unsalted?
Yes, but reduce added salt elsewhere if your butter is salted to avoid an overly salty taste.
Can these brownies be made gluten-free?
Yes, substitute the plain flour with a gluten-free flour blend that measures 1:1 for best results.
PrintBiscoff Brownies Recipe

Delight in these indulgent Biscoff Brownies that combine rich dark chocolate, velvety biscoff spread, and crunchy biscoff biscuits for an irresistible treat. These brownies boast a fudgy texture, enhanced by chocolate chips and a luscious swirl of biscoff spread on top, perfect for sharing or savoring as a decadent dessert.
- Prep Time: 15 minutes
- Cook Time: 30 minutes
- Total Time: 2 hours 45 minutes
- Yield: 16 brownies 1x
- Category: Dessert
- Method: Baking
- Cuisine: British
Ingredients
Chocolate and Butter Mix
- 200 g dark chocolate
- 200 g unsalted butter
Wet Ingredients
- 4 medium eggs (or 3 large eggs)
- 275 g caster sugar or light brown sugar
Dry Ingredients
- 90 g plain flour
- 35 g cocoa powder
Add-ins and Toppings
- 200 g chocolate chips
- 150 g Biscoff biscuits, chopped
- 200 g Biscoff spread
Instructions
- Prepare the Oven and Tin. Preheat your oven to 180ºC (160ºC fan). Line a 9×9 inch square baking tin with parchment paper to prevent the brownies from sticking and ensure easy removal.
- Melt Chocolate and Butter. Gently melt the dark chocolate and unsalted butter together, either using a double boiler or microwave in short bursts. Once melted, set aside to cool slightly while you prepare the other ingredients.
- Whisk Eggs and Sugar. In a separate bowl, whisk together the eggs and sugar until the mixture is thick, pale, and mousse-like. This usually doubles in volume and when you lift the whisk, the batter should leave a trail for a couple of seconds before settling.
- Combine Chocolate Mixture. Carefully fold the melted chocolate and butter mixture into the egg and sugar batter to maintain the airy texture, taking care not to deflate the mixture.
- Add Dry Ingredients. Sift together the plain flour and cocoa powder, then fold these into the chocolate batter evenly without overmixing.
- Incorporate Chocolate Chips and Biscoff Biscuits. Fold the chocolate chips and chopped Biscoff biscuits into the batter until well distributed, then pour the mixture into your prepared baking tin.
- Add Biscoff Spread Dollops. Using two teaspoons, spoon around 15 dollops of Biscoff spread on top of the brownie batter, creating delicious pockets of caramelized spice flavor.
- Bake the Brownies. Bake in the preheated oven for 25 to 30+ minutes until the center has a slight wobble when shaken gently; this ensures a fudgy center.
- Cool and Set. Allow the brownies to cool completely in the tin to set properly, then refrigerate for a couple of hours to firm up before slicing and serving.
Notes
- Using medium eggs or 3 large eggs makes a slight difference in moisture – either works fine.
- Be gentle when folding to keep the batter airy, which helps achieve a fudgy texture.
- If you prefer a chewier brownie, reduce the baking time slightly.
- Ensure the chocolate and butter mixture is not too hot before folding into eggs to avoid scrambling.
- Refrigerating before cutting helps the brownies hold their shape and enhances flavor.
- You can substitute Biscoff spread with peanut butter or Nutella for a variation.
Keywords: Biscoff brownies, chocolate brownies, fudgy brownies, Biscoff spread, chocolate chip brownies, dessert, baked treats