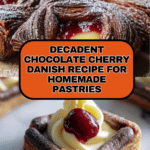
Chocolate-Cherry Danish Recipe
Introduction
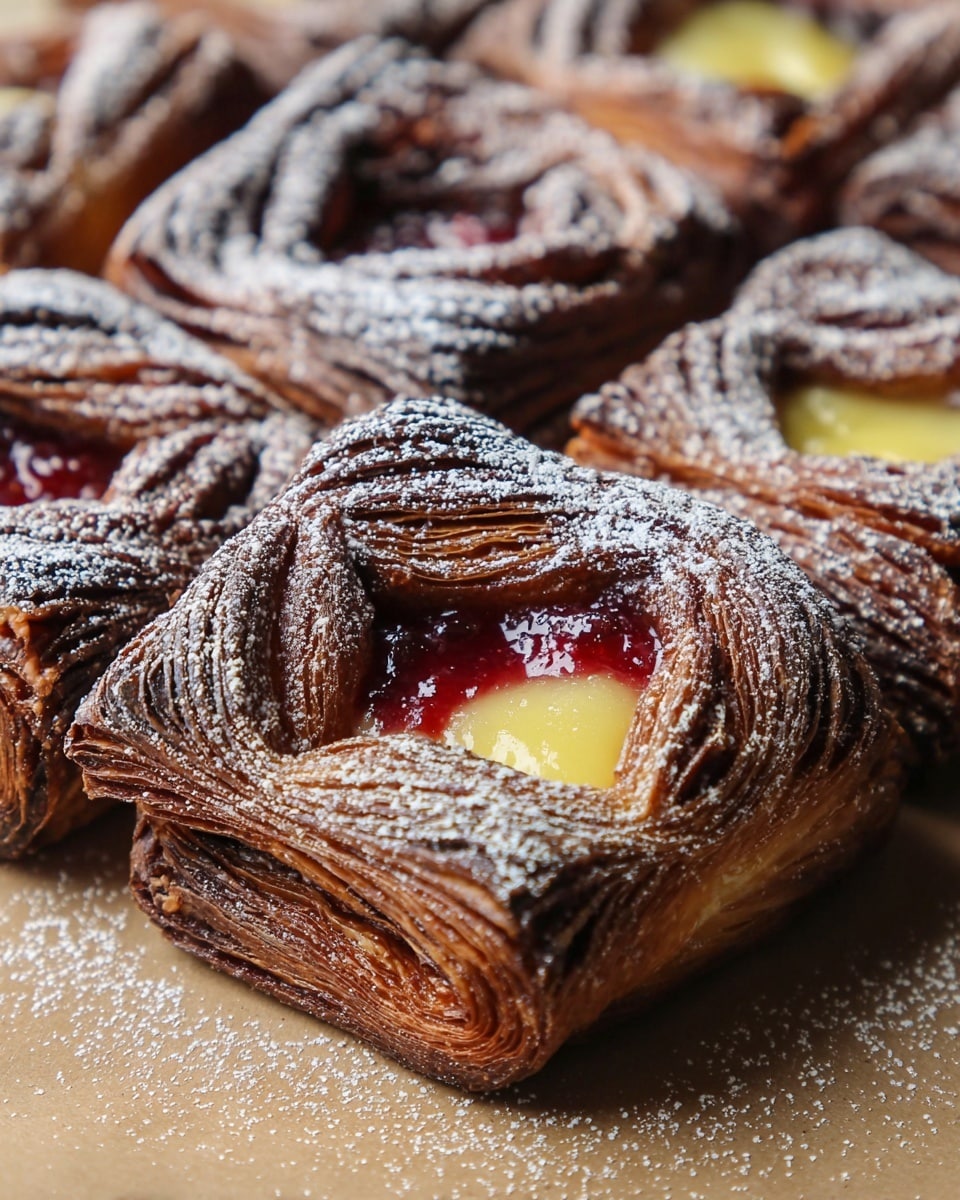
Indulge in the rich flavors of homemade Chocolate-Cherry Danish, a delightful pastry that combines cocoa-infused dough with creamy pastry cream and sweet cherry filling. This recipe uses a laminated dough for a tender, flaky texture that pairs perfectly with the luscious filling.
Ingredients
- 1 1/2 cups (340g) milk or water, lukewarm (about 100°F)
- 1/4 cup (50g) granulated sugar
- 4 1/2 cups (540g) King Arthur Unbleached All-Purpose Flour
- 2 1/2 teaspoons instant yeast
- 2 1/2 teaspoons table salt
- 4 tablespoons (57g) unsalted butter, softened
- 1/2 cup plus 1 tablespoon (50g) unsweetened cocoa, Dutch-process or natural
- 24 tablespoons (340g) unsalted butter, cold (for butter block; preferably European-style butter)
- 1/2 batch Pastry Cream, prepared and chilled
- 1/2 to 2/3 cup (138g to 183g) cherry pie filling
Instructions
- Step 1: In a large bowl, combine lukewarm milk or water, sugar, 2 cups of flour, yeast, salt, and softened butter. Stir until evenly blended.
- Step 2: Add remaining flour and cocoa powder. Mix until the dough pulls away from the bowl. Knead briefly on a floured surface until just smooth.
- Step 3: Place dough in a lightly greased bowl, cover, and let rise for about 1 hour until puffy. Then refrigerate for 8 to 16 hours.
- Step 4: Prepare the butter block by cutting cold butter into six pieces. Place on floured waxed paper or plastic wrap, sprinkle with flour, and pound with a rolling pin into an 8″ x 8″ square.
- Step 5: Roll chilled dough into a 12″ square. Place butter block diagonally in the center and fold dough flaps over butter, pinching to seal.
- Step 6: Roll dough into a 10″ x 20″ rectangle. Perform a letter fold by folding one third to center, then folding the other third over it.
- Step 7: Turn dough 90°, roll again into 10″ x 20″. Fold short edges to center, then fold in half like closing a book (book fold).
- Step 8: Wrap dough in lightly floured plastic wrap and refrigerate for at least 8 hours, up to 24 hours.
- Step 9: Remove dough, cut in half crosswise. Return one half to fridge or freeze. Roll the other half into an 8″ x 24″ rectangle and trim edges.
- Step 10: Cut dough into twelve 4″ squares. Rotate one square like a diamond and fold right corner over left to form a triangle.
- Step 11: Make two cuts near the left corner (parallel to edges), ensuring cuts don’t meet at corner. Unfold the triangle; shift top left dough over to the right.
- Step 12: Fold top corner down to bottom corner to form the basket border, then fold bottom corner up to top. This creates a two-layer twisted border.
- Step 13: Place shaped pastries on parchment-lined baking sheets, spacing at least 3″ apart.
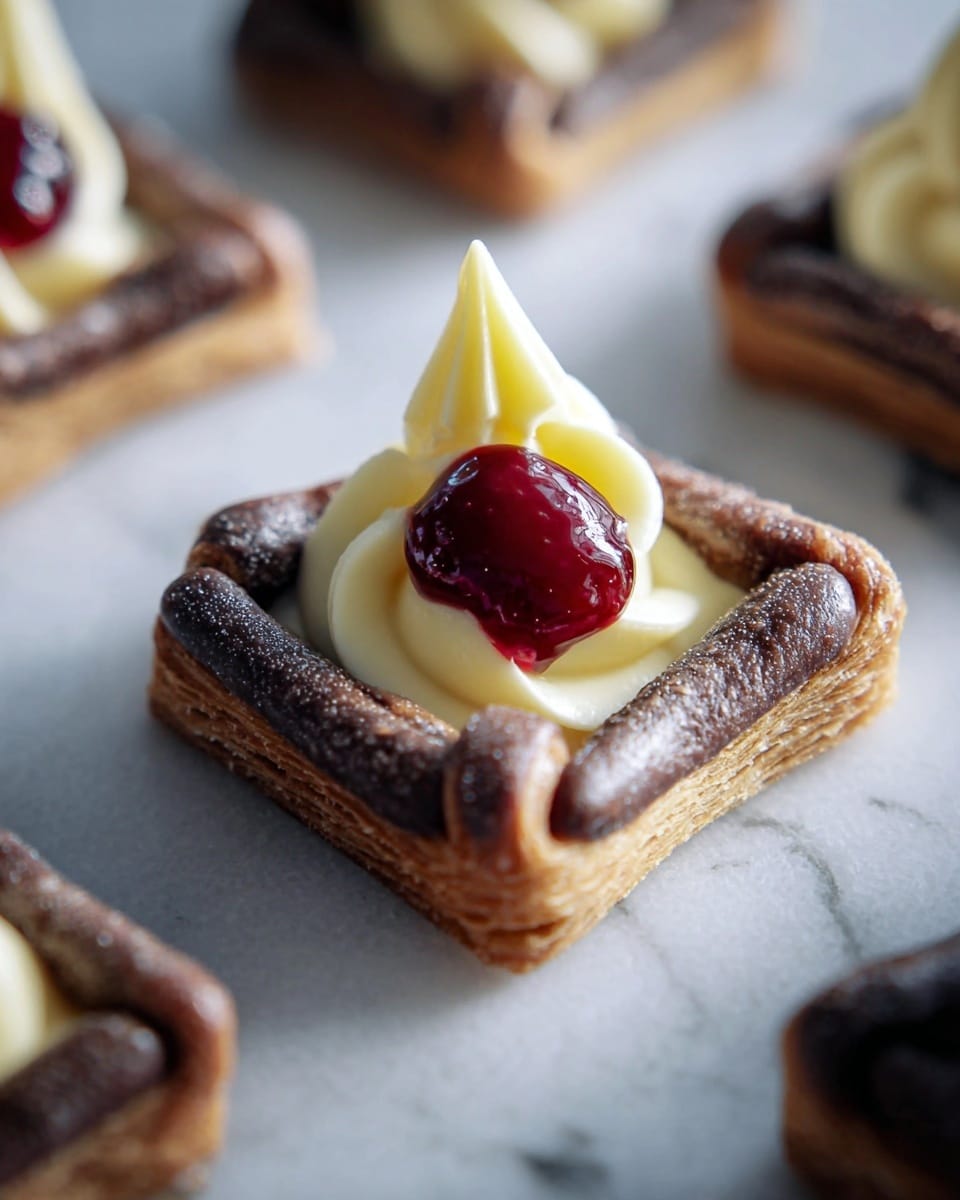
- Step 14: Fill centers with 1 to 2 tablespoons pastry cream using a piping bag. Spoon a scant tablespoon of cherry pie filling on top.
- Step 15: Cover pastries and let rise in a warm spot (under 80°F) for 1 to 2 hours until puffy.
- Step 16: Preheat oven to 425°F near end of rising. Bake for 18 to 20 minutes until edges are set and cocoa aroma is fragrant.
- Step 17: Cool baked Danish slightly before serving to allow structure to set.
Tips & Variations
- For an orange twist, add orange zest or an orange-infused pastry cream to brighten the flavor.
- Use European-style butter for the butter block to achieve a flakier, more tender Danish.
- Unfilled shaped dough can be frozen for longer storage; thaw before use and proceed with filling and baking.
Storage
Store leftover Danish well wrapped in the refrigerator for up to one day. For longer storage, freeze unfilled pastries and thaw before filling and baking. Reheat gently in an oven to restore flakiness.
How to Serve
Serve this delicious recipe with your favorite sides.
FAQs
Can I use regular butter instead of European-style butter?
Yes, but European-style butter with higher butterfat content provides better flavor and flakiness for laminated dough.
How do I make the pastry cream for this recipe?
The pastry cream should be prepared and chilled in advance. For a detailed recipe and options like orange-infused cream, refer to trusted pastry cream recipes or bake guides.
PrintChocolate-Cherry Danish Recipe

This rich and elegant Chocolate-Cherry Danish recipe features a tender cocoa-infused laminated dough filled with creamy pastry cream and bursts of sweet cherry pie filling. Perfect for a special breakfast or dessert, it uses European-style butter for flakiness and a multi-step folding method to create layers that bake into crispy, buttery pastries with a fruity chocolate center.
- Prep Time: 30 minutes (plus 9 to 17 hours resting and chilling time)
- Cook Time: 20 minutes
- Total Time: 10 to 18 hours
- Yield: 12 Danish pastries 1x
- Category: Breakfast Pastry
- Method: Baking
- Cuisine: American
Ingredients
Dough
- 1 1/2 cups (340g) milk or water, or a combination; lukewarm, about 100°F
- 1/4 cup (50g) granulated sugar
- 4 1/2 cups (540g) King Arthur Unbleached All-Purpose Flour
- 2 1/2 teaspoons instant yeast
- 2 1/2 teaspoons table salt
- 4 tablespoons (57g) unsalted butter, softened
- 1/2 cup plus 1 tablespoon (50g) unsweetened cocoa, Dutch-process or natural
Butter Block
- 24 tablespoons (340g) unsalted butter, cold (preferably European-style butter with at least 80% butterfat)
Filling
- 1/2 batch Pastry Cream, prepared and chilled
- 1/2 to 2/3 cup (138g to 183g) cherry pie filling
Instructions
- Make the Dough: In a large bowl, mix water, sugar, 2 cups flour, yeast, salt, and softened butter until fairly blended. Add remaining flour and cocoa powder; stir until dough pulls away from bowl sides. Turn onto work surface and knead until dough starts to smooth. Avoid over-kneading since it continues developing during the rise.
- First Rise: Place dough in lightly greased bowl, cover, and let rise about 1 hour until puffy. Then refrigerate covered for 8 to 16 hours (overnight recommended).
- Prepare Butter Block: Just before dough comes out of fridge, cut cold butter sticks lengthwise into six pieces. Arrange on floured wax paper/plastic wrap, sprinkle flour on top, cover, and gently pound with rolling pin until malleable. Roll into an approximate 8″ x 8″ square.
- Incorporate Butter: Remove dough, roll into 12″ square on floured surface. Place butter block diagonally in center of dough. Fold four dough flaps over butter, sealing edges.
- First Fold: Roll dough with butter into 10″ x 20″ rectangle. Fold one third into center, then fold opposite third over it (letter fold).
- Second Fold: Turn dough 90°, roll again into 10″ x 20″ rectangle. Fold each short edge toward center to meet without overlapping. Fold dough in half like a book (book fold).
- Chill Dough: Wrap dough in floured plastic wrap and refrigerate 8 to 24 hours until ready to use.
- Shape Danish: Remove dough, cut in half crosswise through folds, save one half refrigerated or frozen. Roll remaining dough into an 8″ x 24″ rectangle, trim edges for straightness. Cut into 12 squares (4″ x 4″).
- Form Pastries: Rotate each square to a diamond shape. Fold right (east) corner over left (west) corner to make a triangle. Make two parallel cuts starting 1/2″ below and above left corner, cutting through both dough layers without intersecting at corner. Unfold triangle; reposition dough pieces to create diamond with border.
- Create Basket Shape: Lift top (north) corner, fold border down to bottom (south) corner. Then fold bottom corner up to meet top corner, forming a two-layer border twisted at left and right corners.
- Fill Pastries: Place shaped pastries on parchment-lined baking sheets, spacing 3″ apart. Use a piping bag to add 1 to 2 tablespoons chilled pastry cream in center of each. Top with scant tablespoon of cherry pie filling.
- Second Rise: Cover and let rise in warm spot (below 80°F) for 1 to 2 hours until puffy.
- Bake: Preheat oven to 425°F toward end of rising. Bake Danish for 18 to 20 minutes until edges are set and cocoa aroma is fragrant. Cool slightly before serving to allow structure to set.
- Storage: Store leftover pastries wrapped in refrigerator up to one day. Freeze unfilled pastries for longer storage.
Notes
- Use European-style butter with at least 80% butterfat for best lamination results and flakiness.
- Pastry cream can be infused with orange zest for added flavor as suggested in the original recipe notes.
- Keep dough and butter cool but pliable during folding steps to prevent butter from melting or breaking through.
- Temperature is important during rising and proofing; avoid heat over 80°F to prevent overproofing.
- Freezing unfilled Danish dough halves allows making fresh pastries later without starting from scratch.
Keywords: Chocolate Danish, Cherry Danish, Pastry Cream Danish, Laminated Dough, Breakfast Pastries, Chocolate Cherry Pastry