Garlic Rosemary Artisan Bread Recipe
Introduction
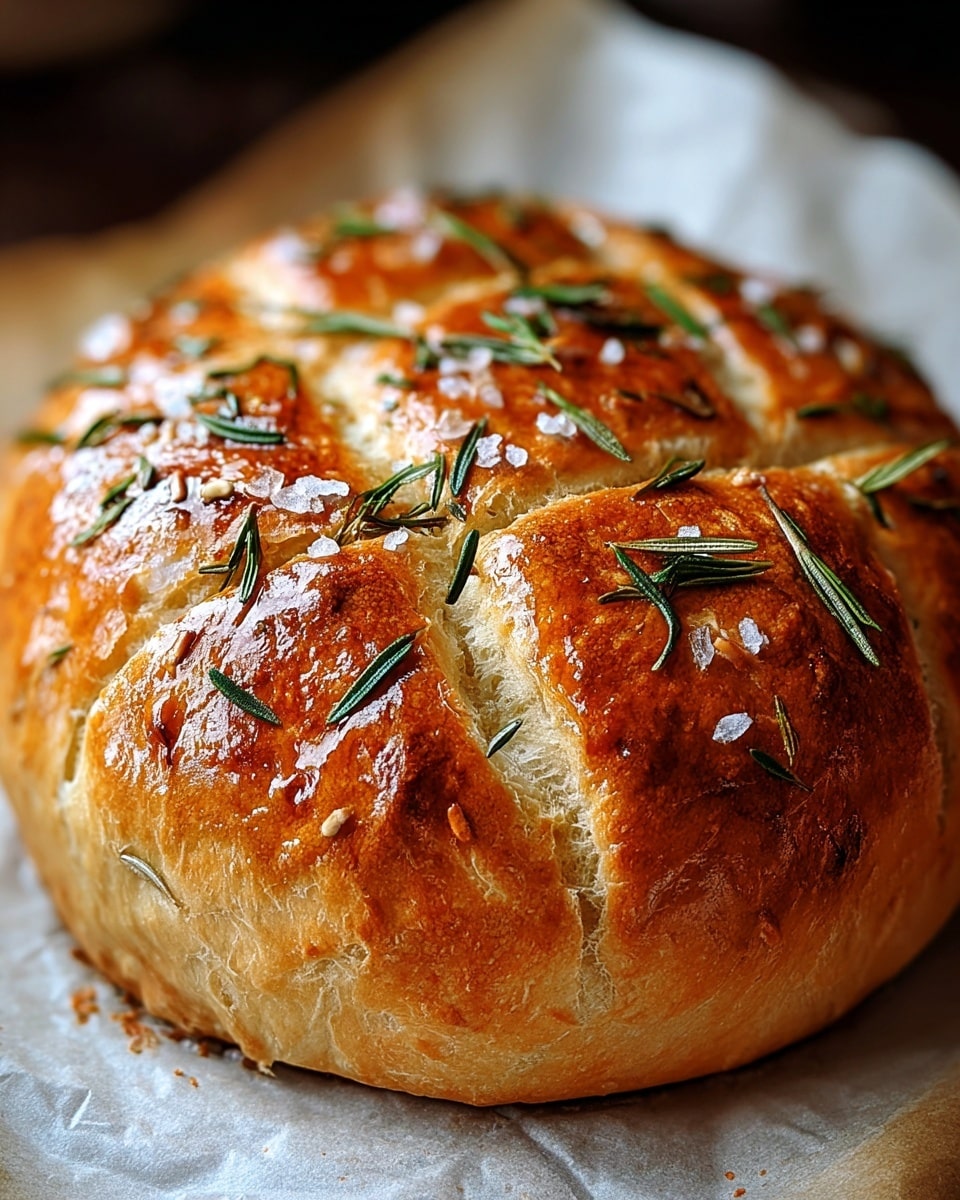
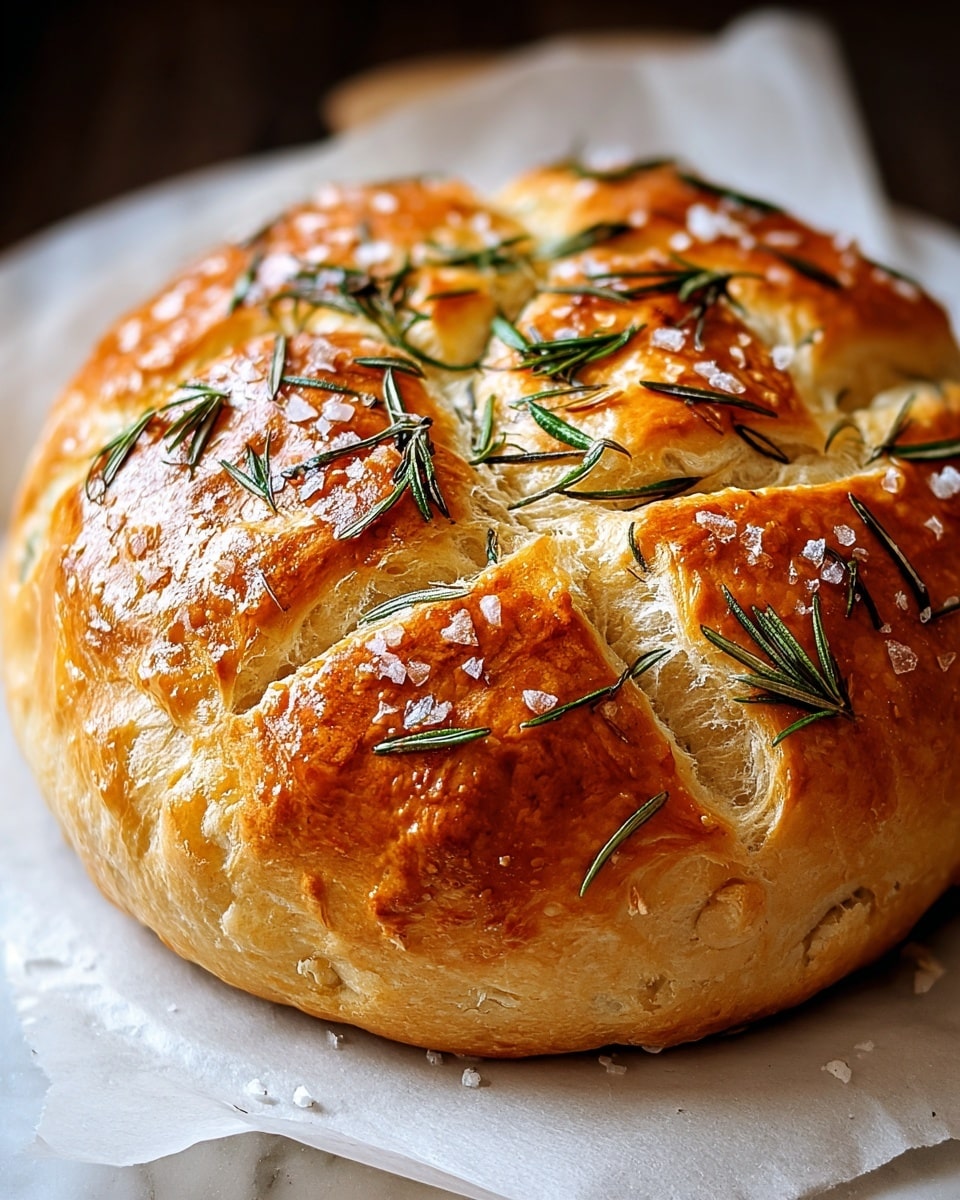
This Garlic Rosemary Artisan Bread combines the rich, mellow flavor of roasted garlic with fragrant rosemary, creating a rustic loaf perfect for any meal. With simple ingredients and an easy no-knead method, even beginners can enjoy homemade bakery-quality bread.
Ingredients
- 1 whole head garlic
- 1 tablespoon extra-virgin olive oil (divided)
- Coarse sea salt & freshly ground black pepper
- 1½ cups water (room temperature, about 70°F / 21°C)
- 1 teaspoon active dry yeast
- 3 cups bread or all-purpose flour (plus more for dusting)
- ½ teaspoon dried oregano
- 1 teaspoon kosher or fine sea salt
- 2 teaspoons finely chopped fresh rosemary (plus more for topping)
- 1 head roasted garlic cloves (smashed)
Instructions
- Step 1: Preheat your oven to 400°F (204°C). Cut the garlic head in half horizontally, drizzle the exposed cloves with half the olive oil, sprinkle with coarse sea salt and freshly ground black pepper, then wrap tightly in foil. Roast for 40 minutes until soft. Let cool, then remove the garlic cloves from their skins.
- Step 2: In a small bowl, dissolve the active dry yeast in room temperature water and let it sit for 10 to 15 minutes until foamy. In a large mixing bowl, combine the flour, kosher salt, dried oregano, and chopped fresh rosemary. Add the yeast mixture, roasted garlic cloves (smashed), and the remaining olive oil. Stir with a spatula until the dough is sticky and well mixed.
- Step 3: Cover the bowl with a clean kitchen towel and let the dough rise at room temperature for 8 to 10 hours, or until it has doubled in size.
- Step 4: Lightly flour your work surface and gently turn the dough out. Shape it into a loose ball without pressing down too hard. Place the dough seam-side up in a floured bowl or proofing basket, cover, and refrigerate for between 1 and 24 hours. For a deeper flavor, you can refrigerate up to 48 hours.
- Step 5: When ready to bake, preheat your oven to 450°F (232°C) with a Dutch oven inside. Remove the chilled dough from the fridge and invert it onto a piece of parchment paper with the seam side down. Use a sharp knife to score the top of the dough with a few shallow cuts to allow for proper expansion.
- Step 6: Carefully place the parchment with the dough into the heated Dutch oven. Cover and bake for 30 minutes. Remove the lid and continue baking for an additional 15 to 20 minutes until the crust is beautifully golden and crisp.
- Step 7: Remove the bread from the Dutch oven and transfer it to a wire rack. Let it cool completely for at least one hour before slicing to ensure the crumb sets properly.
Tips & Variations
- For a more intense garlic flavor, add an extra half head of roasted garlic to the dough.
- Substitute fresh rosemary with thyme or sage for a different herbal note.
- Dust the top of the loaf with a little flour after scoring for a rustic bakery look.
- The cold ferment step deepens flavor and improves texture; don’t skip it if you have time.
- Use bread flour for a chewier crust or all-purpose flour if you prefer a softer crumb.
Storage
Store the bread at room temperature wrapped loosely in a clean kitchen towel or in a bread box for up to 2 days. To keep it longer, slice and freeze the bread in an airtight bag. Reheat slices in a toaster or warm in an oven at 350°F (175°C) for 5–10 minutes to refresh the crust.
How to Serve
Serve this delicious recipe with your favorite sides.
FAQs
Can I skip roasting the garlic?
Roasting the garlic mellows its sharpness and adds a sweet, caramelized flavor that enhances the bread. Using raw garlic will create a sharper, more pungent taste that may overpower the bread.
Do I have to use a Dutch oven?
A Dutch oven helps trap steam, creating a crisp crust and light interior. If you don’t have one, bake the dough on a preheated baking stone or sheet and place a pan of hot water in the oven to generate steam, but the texture may vary slightly.
PrintGarlic Rosemary Artisan Bread Recipe

This Garlic Rosemary Artisan Bread is a rustic, flavorful homemade loaf featuring roasted garlic and fresh rosemary. With no kneading needed and a simple overnight rise, it delivers a crusty exterior and chewy crumb perfect for sandwiches or with butter.
- Prep Time: 15 minutes
- Cook Time: 50 minutes
- Total Time: 9 hours 5 minutes (including rises and cooling)
- Yield: 1 loaf (about 1.5 pounds) 1x
- Category: Bread / Side
- Method: Baking
- Cuisine: Rustic / American
Ingredients
For the Bread Dough:
- 1 whole head garlic
- 1 tablespoon extra-virgin olive oil (divided)
- Coarse sea salt & freshly ground black pepper (to taste)
- 1½ cups water (room temperature, ~70°F / 21°C)
- 1 teaspoon active dry yeast
- 3 cups bread or all-purpose flour (plus more for dusting)
- ½ teaspoon dried oregano
- 1 teaspoon kosher or fine sea salt
- 2 teaspoons finely chopped fresh rosemary (plus more for topping)
- 1 head roasted garlic cloves (smashed)
Instructions
- Roast the Garlic: Preheat your oven to 400°F (204°C). Slice the top off the whole garlic head to expose the cloves, drizzle with olive oil, sprinkle with salt and pepper, then wrap tightly in foil. Roast for 40 minutes until the cloves are soft and caramelized. Allow to cool, then squeeze the roasted cloves out of their skins.
- Mix the Dough: In a small bowl, dissolve the active dry yeast in room temperature water and let it activate for 10 to 15 minutes. In a large bowl, combine the flour, kosher salt, dried oregano, and chopped fresh rosemary. Add the activated yeast water, roasted garlic cloves smashed, and the remaining olive oil. Mix thoroughly with a spatula until a sticky, cohesive dough forms.
- First Rise: Cover the bowl with a clean kitchen towel and leave it at room temperature for 8 to 10 hours, until the dough has doubled in size and shows bubbles on the surface, indicating proper fermentation.
- Shape and Cold Ferment: Lightly flour a work surface and turn out the dough gently. Shape it into a smooth ball without overworking. Place the dough seam-side up in a floured bowl or proofing basket, cover, and refrigerate for 1 to 24 hours (up to 48 hours for deeper flavor development).
- Preheat Oven and Score: About 45 minutes before baking, preheat your oven to 450°F (232°C) with a Dutch oven inside to heat thoroughly. Remove the dough from the refrigerator, invert it onto a piece of parchment paper so the seam is now on the bottom, and score the top using a sharp blade or knife to allow for expansion.
- Bake the Bread: Carefully place the parchment paper and dough into the preheated Dutch oven. Cover with the lid and bake for 30 minutes. Remove the lid and bake an additional 15 to 20 minutes until the crust is deeply golden and crisp.
- Cool and Slice: Remove the bread from the Dutch oven and transfer it to a wire rack. Allow it to cool completely, at least 1 hour, before slicing to ensure the crumb sets properly.
Notes
- Overnight cold fermentation enhances the bread’s flavor and texture, so do not skip this step.
- Using a Dutch oven is essential for creating steam and developing a crusty artisan exterior.
- Be gentle when shaping to preserve the air bubbles formed during fermentation.
- Letting the bread cool fully before slicing results in the best texture and moisture retention.
Keywords: Garlic bread, Rosemary bread, Artisan bread, No knead bread, Homemade bread, Rustic bread, Sourdough style bread