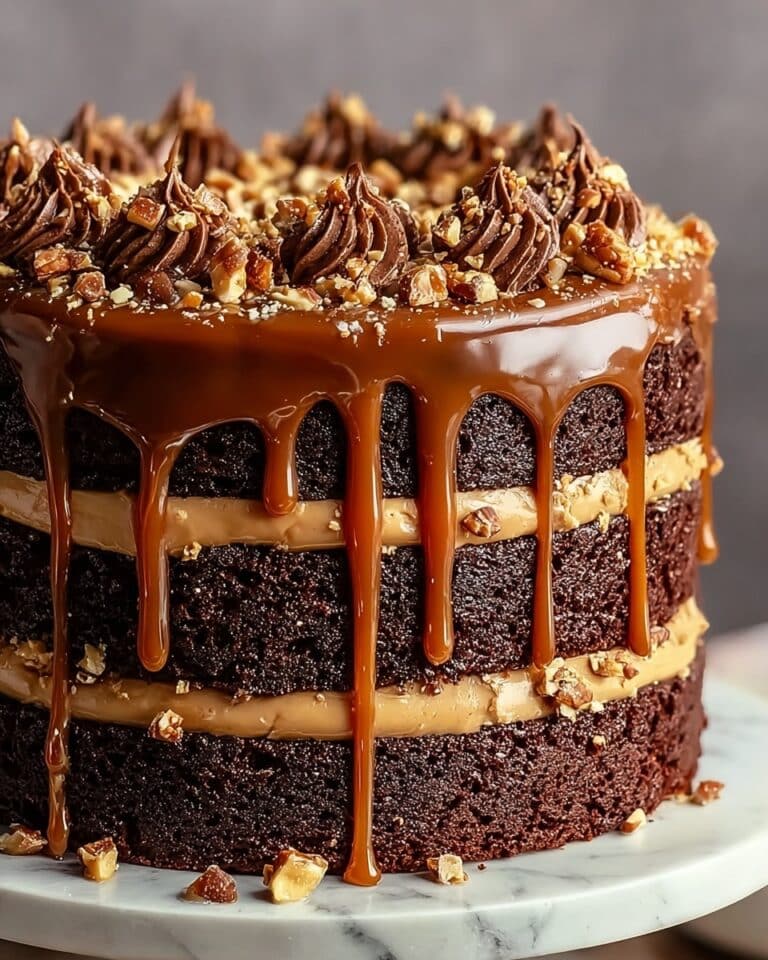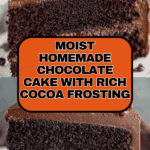
Homemade Chocolate Cake with Chocolate Frosting Recipe
If you are craving a rich, moist, and utterly indulgent dessert, this Homemade Chocolate Cake with Chocolate Frosting is exactly what you need. Bursting with deep chocolate flavor and encased in a velvety smooth frosting, this cake strikes the perfect balance between fluffy and fudgy. Whether you’re celebrating a special occasion or just want to treat yourself, this recipe delivers a classic crowd-pleaser that feels like a warm hug in every bite. Once you try this Homemade Chocolate Cake with Chocolate Frosting, I promise it will quickly become a cherished favorite in your baking repertoire.
Ingredients You’ll Need
Believe it or not, the magic of this Homemade Chocolate Cake with Chocolate Frosting comes from simple pantry staples. Each ingredient plays a vital role—from the cocoa powder that gives that intense chocolate punch, to baking soda and powder that ensure the perfect rise and texture. The butter and powdered sugar combine to create frosting that is irresistibly creamy and luscious.
- 2 cups all purpose flour: The foundation of the cake’s tender crumb.
- 2 cups sugar: Sweetness that enhances and balances the cocoa.
- ¾ cup cocoa powder: Provides that deep, rich chocolate flavor.
- 2 tsp baking powder: Helps the cake rise to just the right height.
- 1 ½ tsp baking soda: Works with the acid to lighten the texture.
- 1 tsp salt: A small touch that amplifies all the other flavors.
- 1 cup milk: Adds moisture and softness to the batter.
- ½ cup oil: Keeps the cake wonderfully moist and tender.
- 2 eggs: Provide structure and richness.
- 2 tsp vanilla extract: Enhances the chocolate’s depth and aroma.
- 1 cup boiling water: Intensifies the cocoa flavor and smooths the batter.
- ½ cup butter (softened): Key for creamy, fluffy frosting.
- ½ cup cocoa powder: For that chocolate kick in the frosting.
- 4 cups powdered sugar: Sweetens and thickens the frosting perfectly.
- 1 tsp vanilla extract: Adds a warm vanilla note to the frosting.
- 1 pinch salt: Balances the sweetness in the frosting.
- 6-8 tbsp milk: Adjusts frosting to a spreadable consistency.
How to Make Homemade Chocolate Cake with Chocolate Frosting
Step 1: Prepare Your Pans and Oven
Start by preheating your oven to 350°F. Then line two 9-inch round cake pans with parchment paper, and lightly spray with non-stick cooking spray. This little step ensures the cake layers come out cleanly and effortlessly after baking, preserving their perfect shape for frosting.
Step 2: Mix the Dry Ingredients
In a large mixing bowl, whisk together the flour, sugar, cocoa powder, baking powder, baking soda, and salt until everything is evenly combined. This step guarantees that every bite of your Homemade Chocolate Cake with Chocolate Frosting has a consistent, rich flavor.
Step 3: Add the Wet Ingredients
Next, pour in the milk, oil, eggs, and vanilla extract to the bowl of dry ingredients. Whisk thoroughly until the batter is smooth and fully blended. This is where the batter starts coming alive, with moisture and richness working together to create the perfect texture.
Step 4: Incorporate the Boiling Water
Slowly stir in the boiling water to the batter, mixing carefully until the batter is silky smooth and well combined. The hot water helps bloom the cocoa, intensifying the chocolate flavor like a dream. Don’t worry if the batter looks very thin—that’s exactly what you want for a moist cake.
Step 5: Bake to Perfection
Divide the batter evenly between the two prepared pans and place them in the oven. Bake at 350°F for 30-35 minutes, or until a toothpick inserted into the center comes out clean. Letting the cakes bake just right is crucial for that tender crumb you’re aiming for.
Step 6: Cool the Cake Layers
Once baked, allow the cakes to cool in the pans for about 10 minutes. Then, invert them onto wire cooling racks and let them cool completely. Cooling fully is especially important so the frosting doesn’t melt and slide off your cake.
Step 7: Make the Chocolate Frosting
To prepare the frosting, beat the softened butter until creamy. Gradually add the cocoa powder, powdered sugar, vanilla, and salt. Slowly pour in 6 to 8 tablespoons of milk until the frosting reaches a smooth, spreadable consistency. Adjust the milk or powdered sugar as needed to get your perfect frosting texture.
Step 8: Assemble and Frost Your Cake
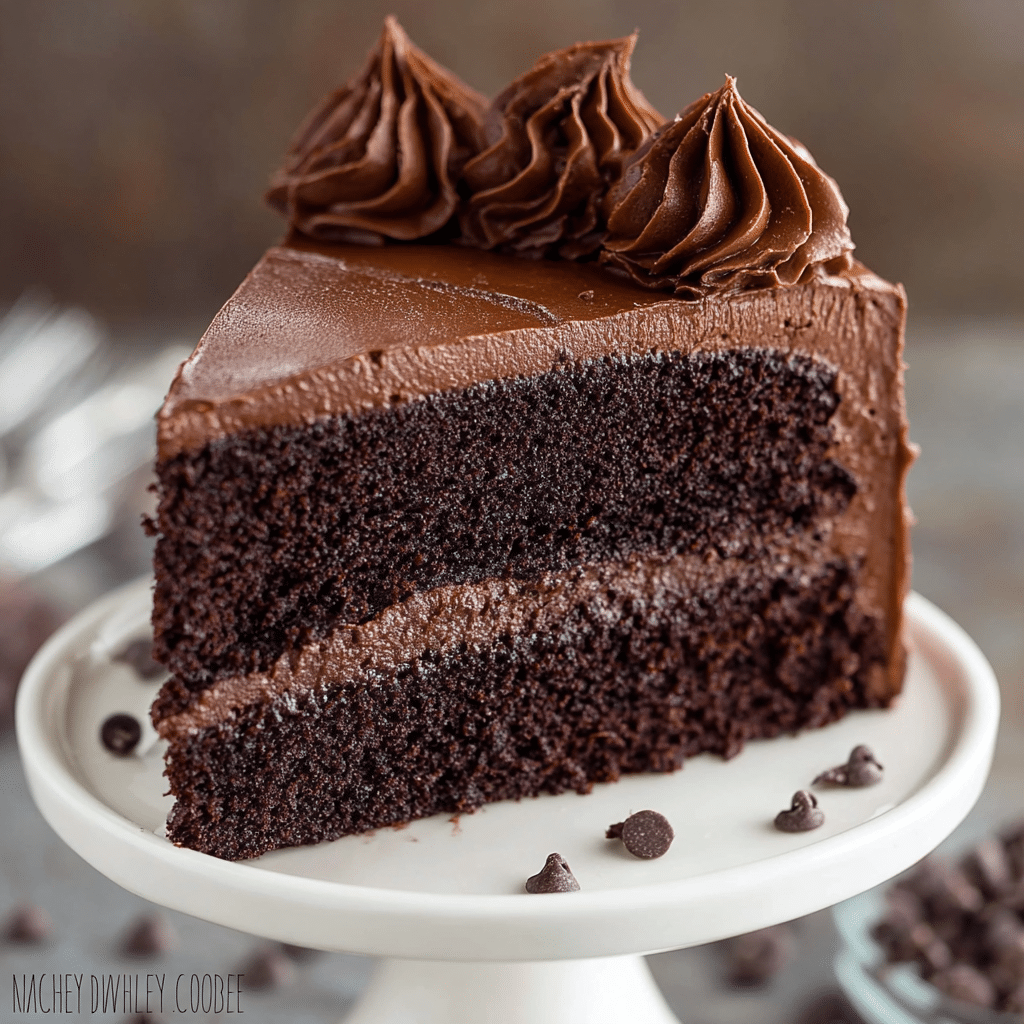
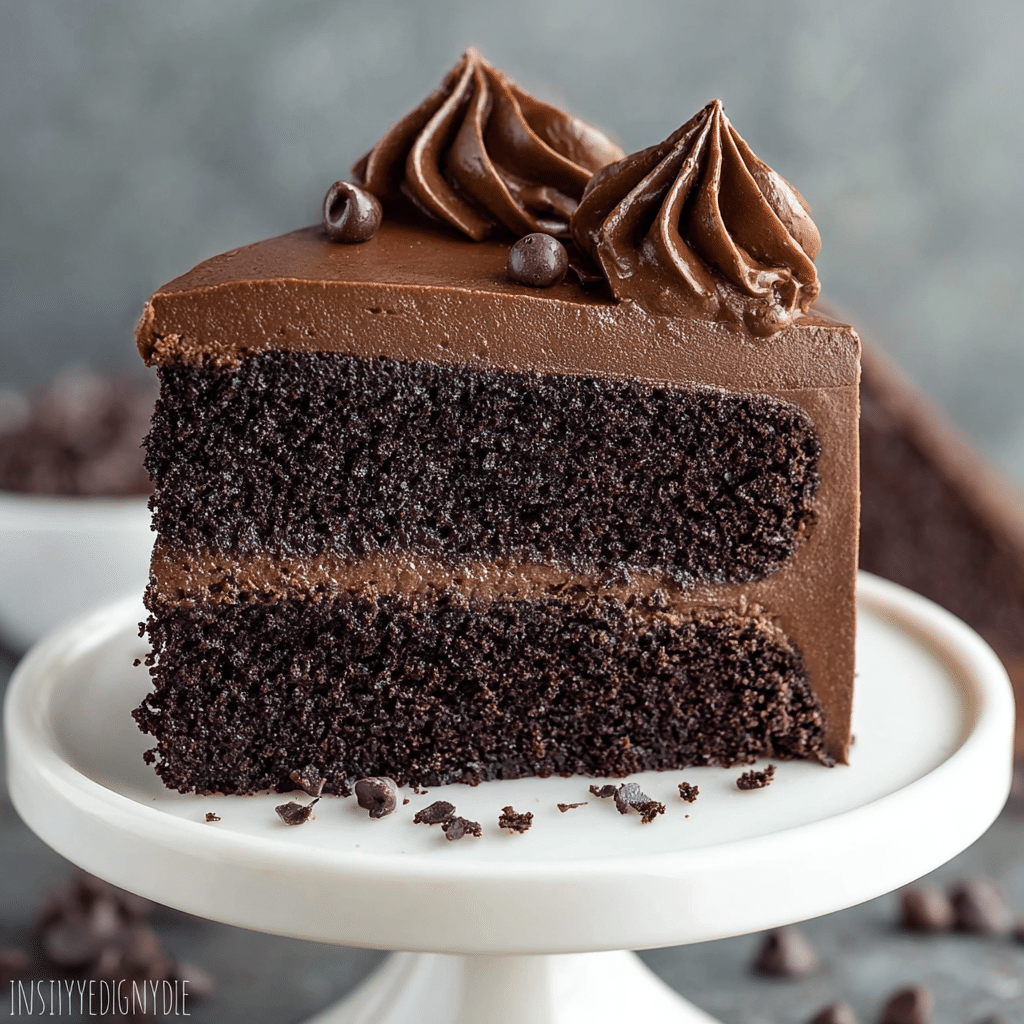
Place one cake layer on a serving plate or cake stand. Spread about one cup of frosting evenly on top. Add the second cake layer and frost the top and sides generously with the remaining frosting. For the best flavor, serve immediately or cover and let the cake rest overnight to let all the flavors meld beautifully.
How to Serve Homemade Chocolate Cake with Chocolate Frosting
Garnishes
Sprinkles of chocolate shavings, a few fresh raspberries, or a light dusting of cocoa powder can add a lovely touch to your cake. These garnishes provide bursts of texture, freshness, or enhanced chocolate decadence that complement the rich frosting beautifully.
Side Dishes
Pairing this cake with a scoop of creamy vanilla ice cream or a dollop of whipped cream takes the experience to another level. Fresh fruit like strawberries or cherries can also bring a bright contrast, cutting through the richness and refreshing your palate.
Creative Ways to Present
For a special event, consider serving your Homemade Chocolate Cake with Chocolate Frosting on a decorative cake stand, surrounded by edible flowers or chocolate curls. You can cut the cake into neat squares and serve on pretty dessert plates with a drizzle of caramel or berry sauce for a restaurant-worthy presentation right at home.
Make Ahead and Storage
Storing Leftovers
Leftover cake should be stored covered at room temperature for up to two days or in the refrigerator for up to five days to maintain freshness and moisture. Make sure to use an airtight container to prevent the cake from drying out.
Freezing
You can freeze unfrosted cake layers wrapped tightly in plastic wrap and aluminum foil for up to three months. When ready to enjoy, thaw the layers at room temperature before frosting. This makes it super convenient to plan ahead for celebrations.
Reheating
If you prefer your cake slightly warm, microwave a slice for 15 to 20 seconds on medium power. This brings out the flavors and softens the frosting just enough without melting it completely, giving you a delightful treat every time.
FAQs
Can I make this cake gluten-free?
Absolutely! Substitute the all-purpose flour with a 1:1 gluten-free flour blend. This swap works well without sacrificing the cake’s tender texture.
Can I use a different frosting?
Yes, while the chocolate frosting is classic, you can equally use vanilla buttercream or cream cheese frosting for a delicious variation that adds a fresh twist.
Why is boiling water added to the batter?
The boiling water intensifies the cocoa flavor and helps create a smooth, thin batter that bakes into an insanely moist cake.
How long will the cake keep?
Stored properly, this chocolate cake stays fresh for up to five days in the refrigerator, making it perfect for enjoying over several days or for prepping ahead.
Can I freeze the whole frosted cake?
Freezing a fully frosted cake is possible but not recommended, as the texture of the frosting can change. It’s better to freeze the layers unfrosted and frost them fresh after thawing.
Final Thoughts
This Homemade Chocolate Cake with Chocolate Frosting truly is a celebration of everything chocolate should be—rich, moist, and decadently smooth. Baking this cake is a joyful experience that brings sweet moments and big smiles to those who taste it. So grab your mixing bowl and dive in—you’ll be amazed at how simply wonderful homemade chocolate cake can be!
PrintHomemade Chocolate Cake with Chocolate Frosting Recipe
This homemade chocolate cake with rich chocolate frosting is a perfect decadent dessert for any occasion. Moist, fluffy layers of chocolate cake are layered and frosted with a creamy chocolate buttercream, creating a classic treat that is easy to prepare and loved by all.
- Prep Time: 25 minutes
- Cook Time: 35 minutes
- Total Time: 1 hour
- Yield: 12 slices 1x
- Category: Dessert
- Method: Baking
- Cuisine: American
- Diet: Vegetarian
Ingredients
For the Cake:
- 2 cups all purpose flour
- 2 cups sugar
- ¾ cup cocoa powder
- 2 tsp baking powder
- 1 ½ tsp baking soda
- 1 tsp salt
- 1 cup milk
- ½ cup oil (vegetable or canola)
- 2 large eggs
- 2 tsp vanilla extract
- 1 cup boiling water
For the Chocolate Frosting:
- ½ cup butter, softened
- ½ cup cocoa powder
- 4 cups powdered sugar
- 1 tsp vanilla extract
- 1 pinch salt
- 6–8 tablespoons milk
Instructions
- Preheat Oven and Prepare Pans: Preheat your oven to 350°F (175°C) and line two 9-inch round cake pans with parchment paper. Spray or grease the pans with non-stick spray to ensure the cakes do not stick.
- Mix Dry Ingredients: In a large mixing bowl, combine the all-purpose flour, sugar, cocoa powder, baking powder, baking soda, and salt. Whisk thoroughly to blend all dry components evenly.
- Add Wet Ingredients: Pour in the milk, oil, eggs, and vanilla extract into the dry mixture. Whisk everything until you achieve a smooth batter free of lumps.
- Incorporate Boiling Water: Gradually add the boiling water to the batter, stirring gently until fully combined. This step helps create a moist and tender cake texture.
- Pour Batter into Pans: Divide the batter evenly between the two prepared cake pans, smoothing the tops as needed.
- Bake the Cakes: Bake in the preheated oven for 30-35 minutes or until a toothpick inserted into the center of the cakes comes out clean, indicating they are fully baked.
- Cool the Cakes: Remove the pans from the oven and let the cakes cool for about 10 minutes in the pans. Then, carefully invert the cakes onto cooling racks to cool completely.
- Optional Freezing: For easier frosting, you may wrap each cooled cake layer tightly in plastic wrap and freeze until firm.
- Prepare the Frosting: In a mixing bowl, beat the softened butter until creamy. Add cocoa powder, powdered sugar, vanilla extract, salt, and milk gradually, mixing until you reach a smooth and spreadable consistency. Adjust milk or powdered sugar to achieve desired thickness.
- Assemble the Cake: Place one cake layer on a cake stand or serving plate. Spread about 1 cup of the chocolate frosting evenly over the top.
- Add Second Layer and Frost: Place the second cake layer on top of the frosted layer. Use the remaining frosting to cover the top and sides of the cake completely and smoothly.
- Serve or Store: Serve the cake immediately, or cover and refrigerate it overnight to let the flavors meld beautifully before serving.
Notes
- To make this cake gluten-free, substitute the all-purpose flour with an equal amount of a 1:1 gluten-free flour blend.
- You can use vanilla buttercream or cream cheese frosting for a different yet delicious twist.
- The cake layers freeze well and can be frosted on the day you plan to serve it for convenience.
- Ensure the butter used for frosting is softened to room temperature for the smoothest and creamiest result.
- If your frosting is too thin, incrementally add more powdered sugar until you reach the desired thickness.
- This chocolate cake is perfect for birthdays, holidays, or any special celebration where a classic chocolate dessert is desired.
Nutrition
- Serving Size: 1 slice (1/12 of cake)
- Calories: 350 kcal
- Sugar: 45 g
- Sodium: 150 mg
- Fat: 18 g
- Saturated Fat: 8 g
- Unsaturated Fat: 8 g
- Trans Fat: 0 g
- Carbohydrates: 45 g
- Fiber: 3 g
- Protein: 3 g
- Cholesterol: 50 mg
Keywords: chocolate cake, homemade chocolate cake, chocolate frosting, chocolate buttercream, birthday cake, easy chocolate cake